Add a new item to a collection with Axios
How to make a post request in a React application

We have seen in previous articles how to grab a collection of items in a GET request using the Axios library in our React application.
Let's see now how to add a new item to our collection.
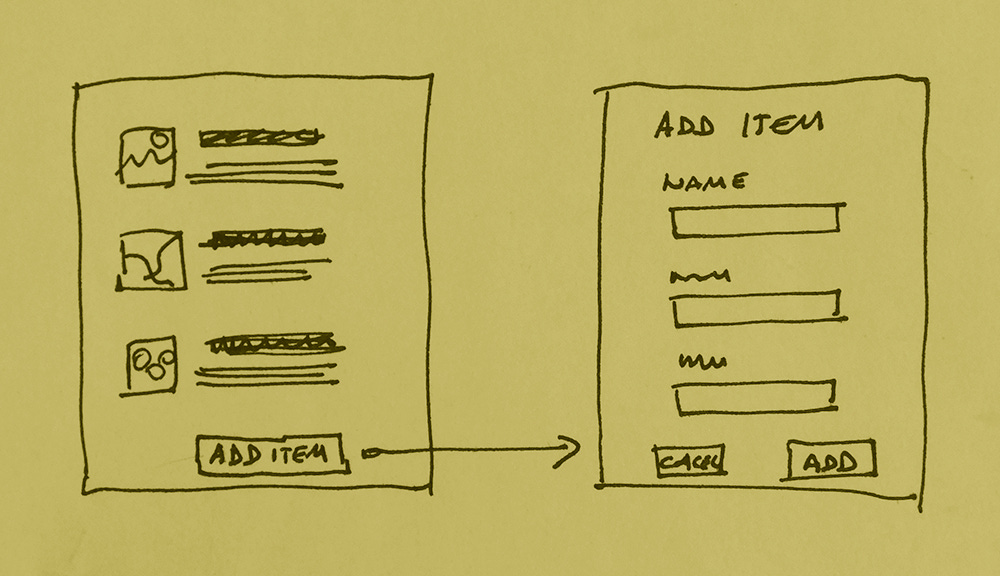
Our objective is to add a link to our list of items view.
Clicking on this link will display a New Item form. This form will have fields for item name, description, price, etc. Once the form is filled it will be submitted and a new item will be created in our collection.

In order to do this we need to create a few things:
a new link in the item list that shows the form
a route that loads the form component
an actual form component, called
ItemForm
In this article we will stop at creating and showing the ItemForm. We will learn how to submit the form in a future article.
Since we have a clear roadmap of what we have to build, let's start by creating a link to access the form.
In our item list component, we add a link to the new item form.
<Link to="/item-form">Add a new item</Link>We also must remember to import the Link component from react-router-dom:
import { Link } from 'react-router-dom';In order for the link to work, we also need to create a route that points to the ItemForm component:
<Route
  path="/item-form"
  render={props => <ItemForm {...props} />}
/>
We add this route to App.js, where all the other routes are defined.
Now that we have a link and a route, we only need to create the actual ItemForm component in components/ItemForm.js
Create the ItemForm component
Let's start by fleshing out the basic structure of a React class component.
class ItemForm extends React.Component {
  render() {
    return (
      <div>
        <h2>Add new item</h2>
        <form>

          <button>Add new item</button>
        </form>
      </div>
    )
  }
}
Let's stop and think for a moment: what's the job of this component?
This component has two jobs to do.
Job number one is to capture some data from the user.
To perform this job, ItemForm displays form fields where data is entered. The data is what's needed to create a new Item, that is: the item name, description, image url, and price.
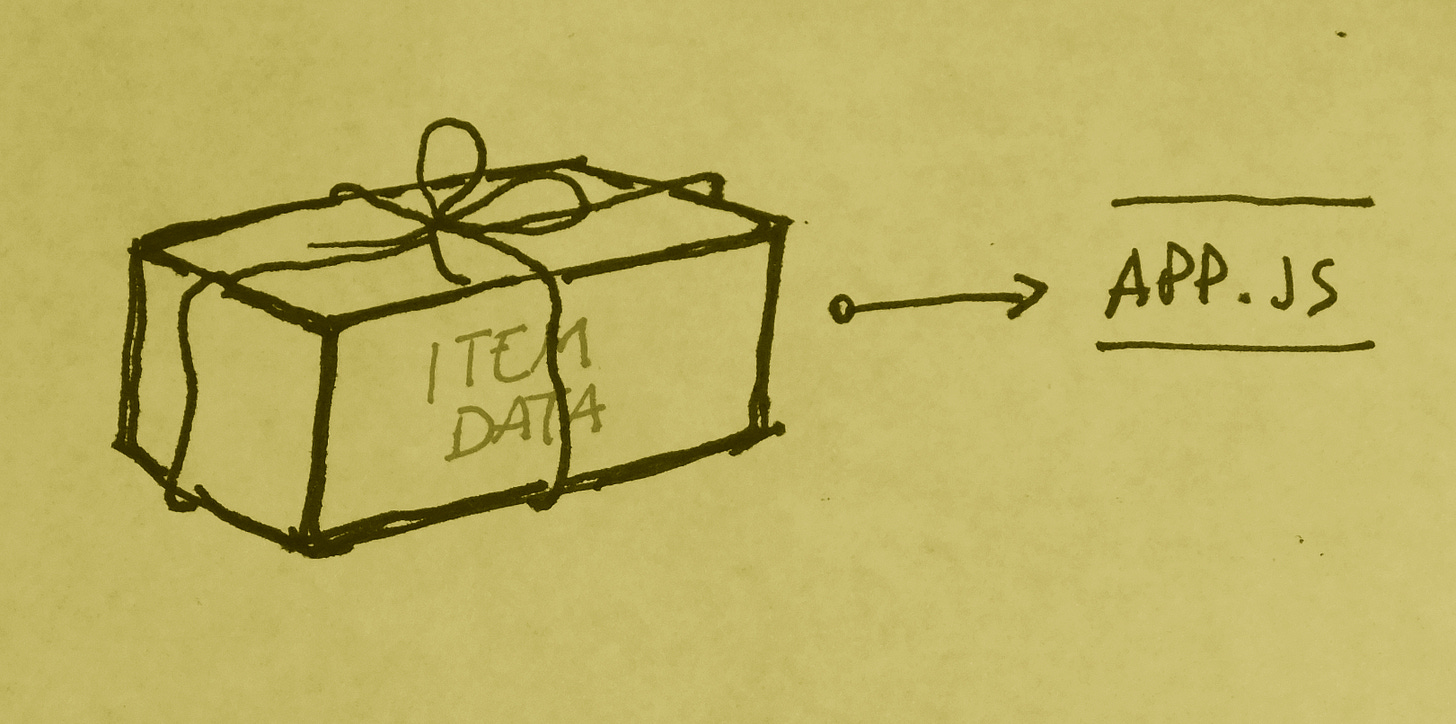
The second job ItemForm has to do is send this captured data to its parent component, App.js, so a new item can be created.
This job of sending data to its parent is handled by a function inside ItemForm called handleSubmit() that we are going to write shortly.
ItemForm doesn't have to worry about actually creating the new Item. The actual Item creation is handled by App.js.
But there is one extra thing that ItemForm needs in order to perform its two jobs well. It needs a place to keep track of data entered in the form fields, data that can be later neatly packaged into an object to be sent to App.js.

In other words, ItemForm needs some state where it can hold the new item data entered into its fields until it's submitted.
Let's add state to the ItemForm component. Inside the state object we add an item property that represents the new item. We initialize the new item properties to empty strings, because we don't have any data yet:
state = {
  item: {
      name: '',
      price: '',
      imageUrl: '',
      description: '',
    }
}
Let's summarize what we have done so far.
At this point we have a link in the item list that opens up a new item form. The form keeps the data necessary to create a new item in its state.
The form also has a submit button but there are no fields for entering data yet. That's what we are going to add next.
We'll see how to add form input fields in the next article.
I write daily about web development. If you like this article, feel free to share it with your friends and colleagues.
You can receive articles like this in your inbox by subscribing to this newsletter. Just click the button below to sign up for a free subscription.
